Follow Me On Social Media!


Classic Brownie Recipe

Classic Brownie Recipe
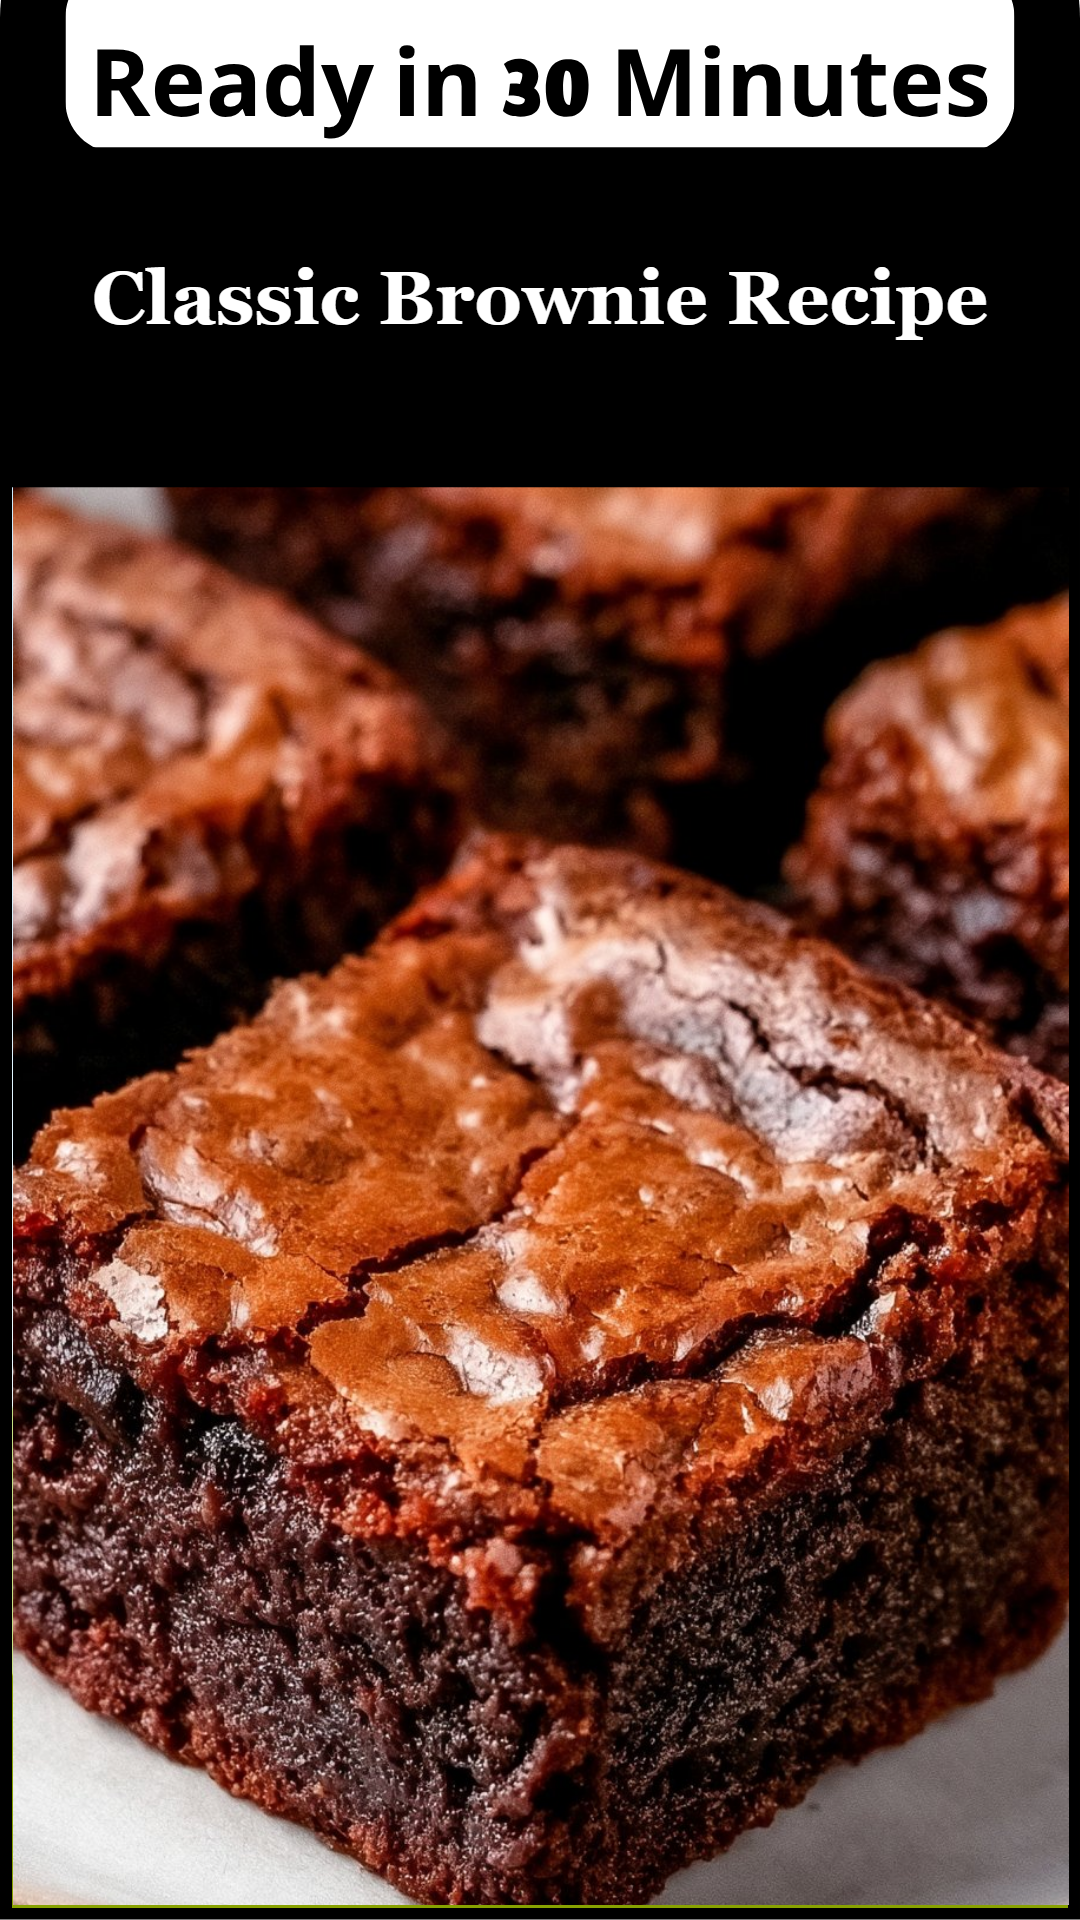
Classic brownie recipe is all about indulgence and warmth, offering a taste of nostalgia with each bite. Brownies, with their rich chocolate flavor and fudgy texture, have long been a beloved treat in American households. They often evoke memories of family gatherings, bake sales, and cozy afternoons spent with friends. This classic brownie recipe combines simple ingredients with easy-to-follow steps, ensuring that even novice bakers can achieve that perfect batch of brownies. So, preheat your oven and prepare to delve into a sweet experience that promises to delight your taste buds.
What Makes This Recipe Stand Out
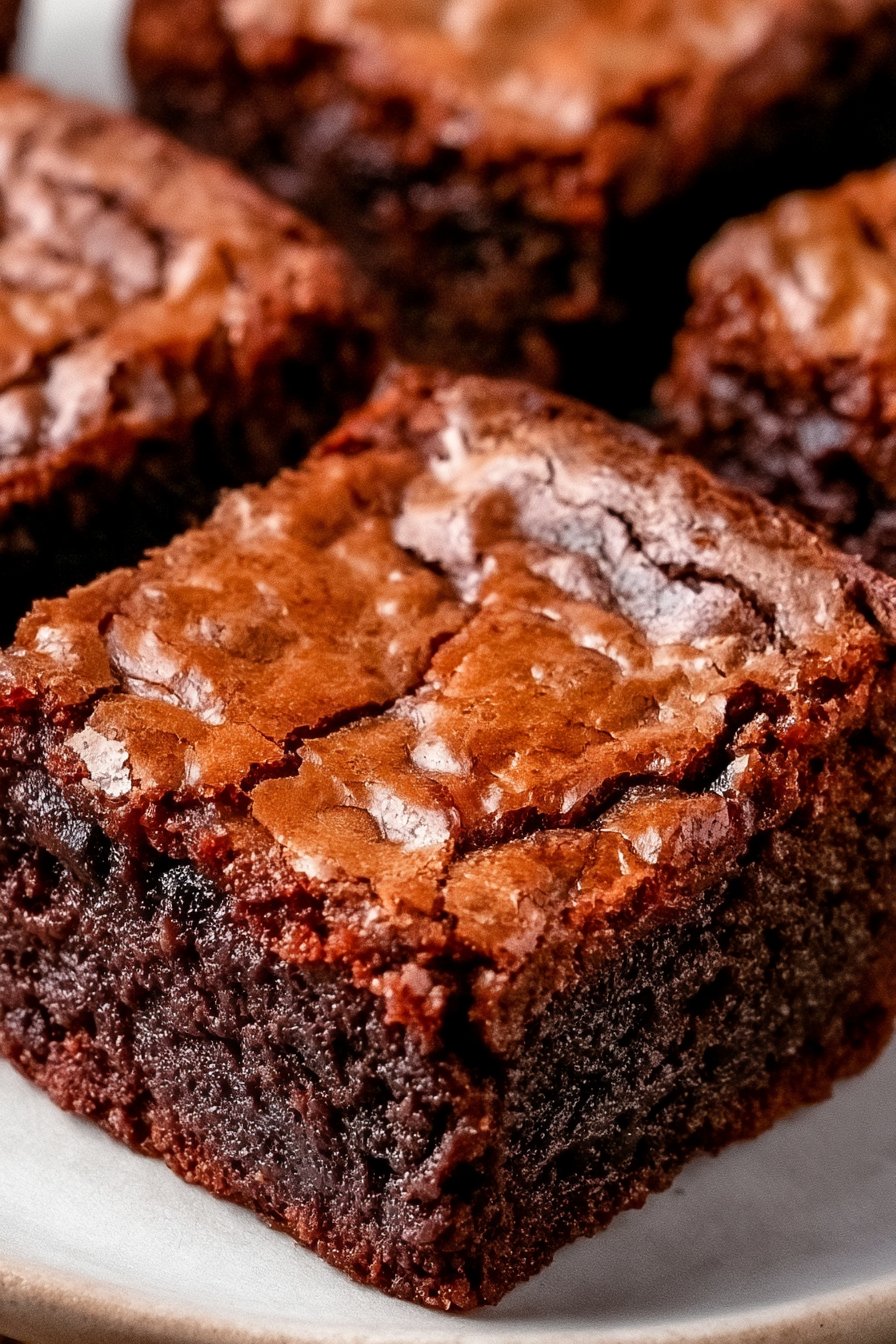
What sets this classic brownie recipe apart from others? It’s not just the combination of ingredients; it’s the method and the attention to detail that brings out the deeply satisfying flavor of chocolate. Each bite carries a balance of gooeyness and chewiness, a marriage of textures that pleases the palate.
Emotionally, brownies provide comfort food wrapped in a cozy, chocolatey embrace. They are perfect for sharing, whether at a birthday party, holiday gathering, or simply as an after-dinner sweet. When you think about a classic brownie, you’re not just thinking about a dessert; you’re reminiscing about laughter, togetherness, and relaxation in the company of loved ones.
From the culinary perspective, this classic recipe is a demonstration of how a few simple ingredients can combine to create something extraordinary. By utilizing techniques such as melting chocolate and carefully combining dry and wet ingredients, you enhance the flavor profile and texture of your brownies, ensuring they are moist yet firm enough to hold their shape.
Ingredient Breakdown
- Unsalted butter
- Granulated sugar
- Brown sugar
- Water
- Semisweet chocolate chips
- Vanilla extract
- Eggs
- All-purpose flour
- Baking soda
- Salt
Let’s take a deeper look at the components that make up this classic brownie recipe. The unsalted butter serves as the foundation for richness, providing moisture and flavor without overwhelming saltiness. Granulated sugar and brown sugar each bring their unique characteristics to the table—granulated sugar provides sweetness, while brown sugar adds depth with its caramel notes.
Water acts as a crucial element, preventing the batter from becoming too dense while aiding in the melting of the butter and chocolate mixture. Speaking of chocolate, semisweet chocolate chips are key not only for folded-in gooey pockets of chocolate but also for the intense chocolatiness that every brownie needs.
Vanilla extract enhances the overall flavor, transforming mere batter into an aromatic delight that fills your kitchen as it bakes. Eggs are essential for binding the ingredients and creating that iconic brownie structure, while all-purpose flour contributes to the desired texture. Lastly, baking soda works as a leavening agent, ensuring your brownies rise perfectly without compromising their chewy texture. A pinch of salt elevates the chocolate flavor, making every bite a balance of sweet and savory goodness.
| Ingredient | Purpose |
|————————-|————————————-|
| Unsalted butter | Adds moisture and richness |
| Granulated sugar | Sweetness |
| Brown sugar | Depth of flavor |
| Water | Prevents density |
| Semisweet chocolate chips| Melts into gooey pockets of chocolate |
| Vanilla extract | Enhances flavor |
| Eggs | Binds ingredients |
| All-purpose flour | Provides structure |
| Baking soda | Helps brownies rise |
| Salt | Balances sweetness and enhances flavor|
Step-by-Step Preparation for Classic Brownie Recipe
Step One
Start your classic brownie adventure by preheating your oven to 325 degrees Fahrenheit. This initial step is crucial; it ensures that your brownies bake evenly and thoroughly. Next, it’s important to prepare your baking dish. Lightly grease an 8"x8" baking dish or line it with parchment paper for easy removal after baking. The parchment paper will help achieve clean edges, making your brownies aesthetically pleasing and easy to cut once they cool.
Step Two
In a small bowl, combine the flour, baking soda, and salt. This is an essential step as it ensures even distribution of the leavening agent and seasoning throughout the batter. Set this mixture aside as you turn your focus to the chocolatey hero of a classic brownie—melted chocolate and butter. In a saucepan over low heat, combine unsalted butter, granulated sugar, brown sugar, and water. Stir frequently until the mixture comes to a low simmer. Pay attention here; you want to achieve a luscious, glossy mixture without boiling it. Once simmering, remove it from heat and stir in semi-sweet chocolate chips until fully melted and combined, creating a rich chocolate sauce.
Step Three
Now, transfer your warm chocolate mixture to a larger mixing bowl. Here, you’ll want to incorporate vanilla extract and eggs. Whisk these ingredients together until creamy and well-blended. The warmth of the chocolate mixture gently cooks the eggs, resulting in a rich flavor and velvety texture. Gradually add the flour mixture to the chocolate mixture, stirring until the batter comes together. You should be careful not to overmix; a few lumps are perfectly fine, ensuring your brownies remain fudgy.
Step Four
With the batter ready, pour it into your prepared baking dish, spreading it evenly into the corners for uniform cooking. Bake your brownies in the preheated oven for approximately 30 minutes. To check for doneness, insert a toothpick into the center; it should come out mostly clean with a few crumbs sticking to it. Remember, you want to retain that moistness, so don’t overbake! When done, let your brownies cool in the dish for a few minutes before transferring them to a wire rack. Once completely cooled, slice into squares and serve!
Full Cooking Directions
Begin by preheating your oven to 325 degrees Fahrenheit. Greasing an 8"x8" baking dish or lining it with parchment paper will help ensure your brownies don’t stick and can be easily removed after baking. After doing this, combine the flour, baking soda, and salt in a small bowl, setting the mixture aside for later use.
Next, take a small saucepan and place it over low heat. Add the unsalted butter along with the granulated sugar, brown sugar, and water. Stir this combination frequently until it reaches a low simmer. Once it does, remove it from the heat. Incorporate the semi-sweet chocolate chips into this mixture, stirring until they are fully melted and the mixture is smooth and glossy. It’s important to allow the mixture to cool slightly before the next step to prevent scrambling the eggs.
Once the chocolate mixture is cool, transfer it to a larger bowl. Whisk in the vanilla extract and eggs until well combined. Gradually add your flour mixture to this batter, stirring gently until you can no longer see dry flour. It is essential not to overmix, as this can affect the brownies’ fudgy texture.
Pour the brownie batter into your prepared baking dish, spreading it evenly. Place it in your preheated oven and let it bake for about 30 minutes. After this time, check for doneness by inserting a toothpick into the center; it should come out with a few moist crumbs attached but not wet batter. When ready, remove the brownies from the oven and allow them to cool in the dish for a few moments before transferring them to a wire rack to cool completely. Once cool, slice them into squares and enjoy the magic of this classic brownie recipe!
Pro Tips & Extra Guidance
To create the ultimate brownies, consider these expert tips. First, always use high-quality chocolate; it significantly influences the taste. Even if it is only a few ounces, using good chocolate can make a world of difference. You can also experiment with different types of chocolate chips, such as dark, white, or even peanut butter-flavored chips for unique twists.
If you prefer your brownies cakier, you can add a bit more flour or an additional egg for a lighter texture. Conversely, for even fudgier brownies, consider adding an extra tablespoon of butter or using a mix of brown sugar with granulated sugar to enhance caramel notes.
Also, let your brownies cool completely before cutting. While it’s tempting to dive in when they’re warm, allowing them to set will make for cleaner cuts and a better texture overall. A serrated edge knife works wonders for slicing through brownies evenly.
Best Practices for Storing & Reheating
Storing your classic brownies properly will keep them fresh and delicious for days. Once cooled, you can place them in an airtight container at room temperature for up to four days. To maximize freshness, consider wrapping individual brownies in plastic wrap before placing them in the container.
If you plan to keep them for a longer period, freezing is a great option. Wrap the brownies tightly in plastic wrap followed by aluminum foil, and store them in the freezer. They can last up to three months when stored this way. To thaw, leave them in the fridge overnight or simply set them out at room temperature for a couple of hours before enjoying.
When it comes to reheating, the microwave is the quickest method! Place a brownie on a microwave-safe plate, cover it with a damp paper towel, and heat for about 10-15 seconds for a warm, gooey treat. Alternatively, you can warm them in a preheated oven at 350 degrees for about 5-10 minutes.
Common Questions Answered
Can I substitute butter with oil for this recipe?
Yes, you can substitute melted vegetable oil for the butter, but keep in mind that butter adds a unique flavor and richness that oil might not fully replicate.
How can I make gluten-free brownies?
You can replace all-purpose flour with a gluten-free flour blend. Just make sure that the blend contains xanthan gum to aid in binding.
Do I have to use chocolate chips?
No, if you prefer a purer chocolate flavor, you can melt additional semisweet chocolate into the batter instead.
Can I add nuts to my brownies?
Absolutely! Chopped walnuts or pecans can add a delightful crunch and contrast in texture. Fold them in after combining the batter.
What is the best way to check if my brownies are done?
The toothpick test is a classic method; insert it into the center, and it should come out with a few moist crumbs. Just remember that overbaking will lead to dry brownies!
Can I use Dutch-processed cocoa instead of semisweet chocolate?
Yes, you can use Dutch-processed cocoa powder, but you will need to adjust the recipe slightly. Use about 3/4 cup of cocoa powder and reduce the flour by 1/4 cup.
How long can I keep brownies in an airtight container?
When stored properly, brownies can last for about 4 days at room temperature and up to 3 months in the freezer.
Final Thoughts + Call to Action
Classic brownie recipe is a simple yet delightful way to indulge in a timeless treat. Whether you’re making them for a special occasion or as a comforting snack at home, these brownies will surely impress. Don’t hesitate to gather your loved ones for a baking session and create memories around this delicious sweet. Share your brownie-making experience or any variations you try with us! Enjoy every chocolatey bite!