
Follow Me On Social Media!

Marble Cake
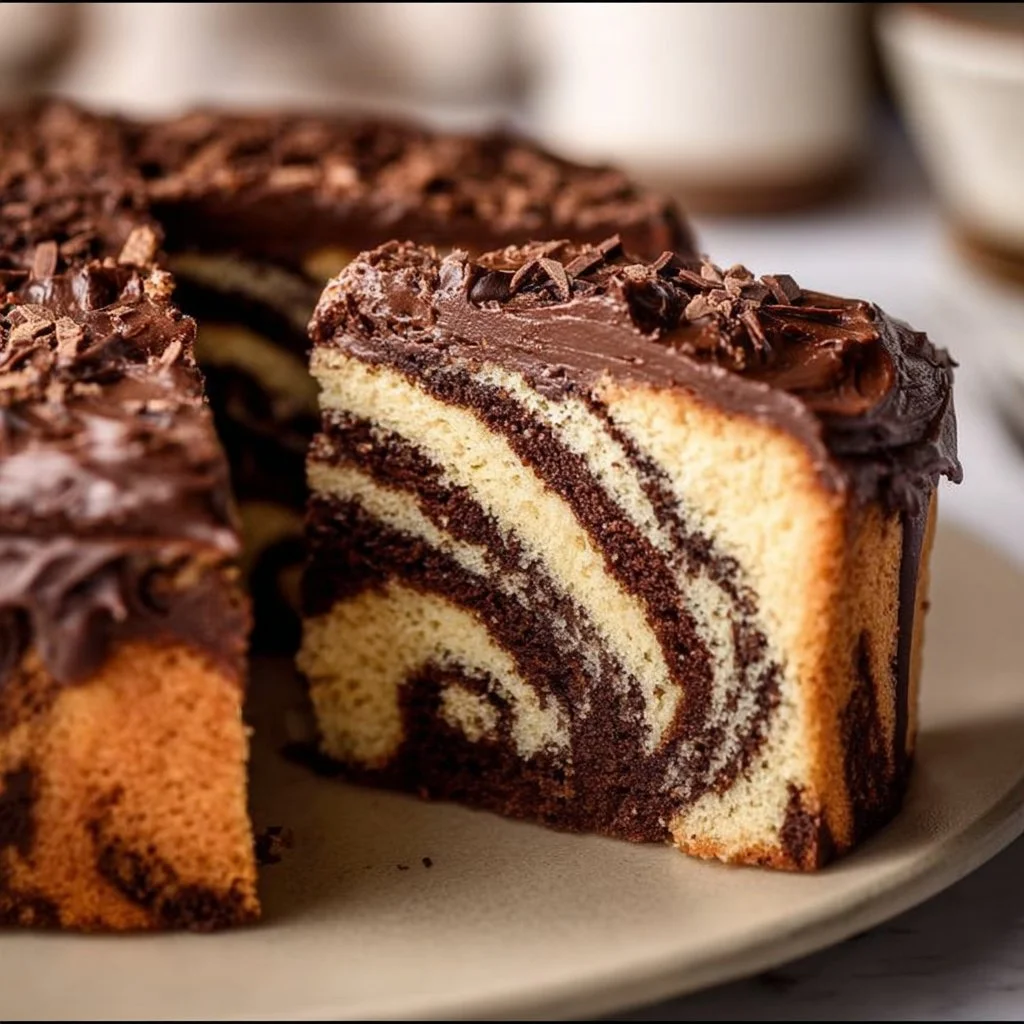
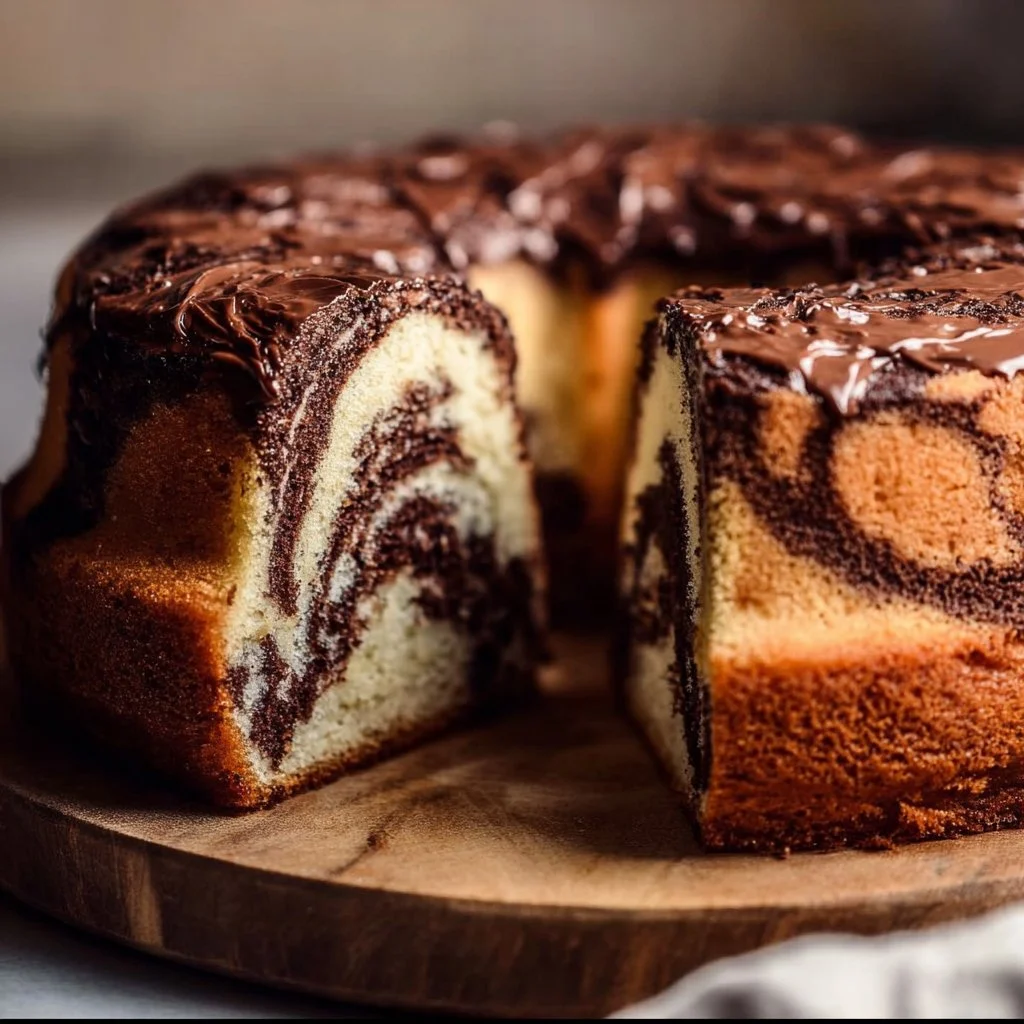
Marble Cake Recipe
Marble cake is a delightful blend of rich chocolate and buttery vanilla flavors that creates a stunning visual appeal and a comforting treat. This classic dessert has become a family favorite for special occasions and everyday celebrations alike. With its unique marbled effect, every slice reveals a beautiful pattern that tempts you to take another bite. Not only does this cake look enticing, but it’s also incredibly delicious, making it a staple in many households. Here’s a deep dive into why you’ll love marble cake, how to make it, and everything you need to know to create the perfect treat.
Why You’ll Love It
Marble cake has a unique charm that combines two of the most beloved flavors—chocolate and vanilla. This cake appeals to a wide audience; whether you are a chocolate lover or prefer something lighter, marble cake offers the best of both worlds. It’s perfect for celebrations like birthdays or holidays, yet cozy enough for an afternoon snack with a cup of coffee. The light, fluffy texture invites everyone to indulge.
Not only does it taste heavenly, but marble cake also provides a sense of nostalgic comfort. Many of us grew up with our parents or grandparents baking this cake, creating precious memories with each slice. The simple act of making this cake can evoke feelings of warmth and togetherness, making it a perfect choice for family gatherings or when you want to convey love through food.
Moreover, the versatility of marble cake is remarkable. You can serve it plain, glaze it with chocolate buttercream frosting, or decorate it for special occasions. Pair it with fresh berries or a scoop of ice cream for an elevated dessert. Every variation brings a joyful twist to this classic recipe, ensuring there’s always a way to enjoy it that suits your taste. Ultimately, marble cake isn’t just food; it’s a symbol of happiness and togetherness shared among family and friends.
Ingredients
To make a perfect marble cake, you will need the following ingredients:
- 2 cups all-purpose flour
- 1 tablespoon baking powder
- ½ teaspoon salt
- ¾ cup unsalted butter, softened
- 2 cups granulated sugar
- 3 large eggs
- 1 teaspoon vanilla extract
- 1 cup whole milk
- ½ cup unsweetened cocoa powder
- 1 cup boiling water
In more detail, start with two cups of all-purpose flour, which forms the base and provides the necessary structure. Adding a tablespoon of baking powder helps the cake rise beautifully, while half a teaspoon of salt enhances the flavors. The hero of your marble cake will be three-quarters of a cup of soft unsalted butter, which brings richness and moisture. To sweeten the cake, use two cups of granulated sugar. For flavor, you’ll incorporate three large eggs and a teaspoon of pure vanilla extract.
Next, add one cup of whole milk for a tender crumb. For the chocolate component, you’ll need half a cup of unsweetened cocoa powder. Finally, a cup of boiling water is essential; it helps dissolve the cocoa and enhances the richness of the chocolate flavor, creating that signature marbled effect. These ingredients come together beautifully, producing a moist cake sure to be a hit at your next gathering!
How to Make Marble Cake
Step 1
Begin your marble cake adventure by preheating your oven to 350°F (175°C). Grease and flour two 9-inch round cake pans. This preparation ensures that your cakes won’t stick and come out neatly after baking. Combine the all-purpose flour, baking powder, and salt in a medium bowl, whisking them together until thoroughly mixed. This step is crucial because it aerates the dry ingredients, leading to a lighter cake.
Step 2
In a separate large bowl, cream the softened butter and sugar together until the mixture is light and fluffy; this usually takes about 4 to 5 minutes. Next, add the eggs one at a time, ensuring each egg is fully incorporated before adding the next. Then, mix in the vanilla extract. Gradually add your flour mixture and milk into the butter mixture, starting and ending with flour, mixing until just combined. This careful integration allows the ingredients to meld harmoniously, developing a decadent batter.
Step 3
Divide the batter into two bowls. In one bowl, sift in the cocoa powder and mix well until uniform. Then, slowly pour in the boiling water, stirring until the chocolate batter is smooth. The hot water helps the cocoa dissolve completely and creates a rich, velvety chocolate batter. Now, you have two distinct batters—one vanilla and one chocolate—ready for marbling.
Step 4
To create the marble effect, spoon dollops of both batters into the prepared cake pans. Use a knife or a skewer to swirl them together gently, making sure not to overmix; you want that beautiful marbled look to remain intact. Bake in your preheated oven for 30 to 35 minutes or until a toothpick inserted in the center comes out clean. Allow the cakes to cool in the pans for 10 minutes before transferring them to wire racks to cool completely.
Directions for Marble Cake, Chocolate Buttercream:
For the marble effect, start by preparing your cake batter as outlined above. After mixing and swirling the batters, pop them into the oven for 30 to 35 minutes. While your cakes bake, you can prepare the chocolate buttercream frosting. In a medium bowl, beat 1 cup softened butter until smooth, then gradually add 3 to 4 cups of powdered sugar. Mix in ½ cup unsweetened cocoa powder and 1 teaspoon vanilla extract, followed by 2 to 3 tablespoons of heavy cream until the frosting reaches your desired consistency for spreading. Once your cakes are fully cooled, frost the top of one layer before placing the other layer on top. Generously frost the top and sides, creating a beautiful finish for your masterpiece.
Helpful Notes
To ensure success with your marble cake, consider these helpful tips. Use room temperature ingredients for a smoother batter and a more even bake. An electric mixer makes the process easier, but a whisk can also work well if you mix vigorously. Make sure not to overmix the batter after adding the dry ingredients; stirring just until combined preserves the cake’s tenderness.
Additionally, feel free to customize your marbling technique! You can create more or less distinct patterns depending on how you swirl your batters together. Also, if you prefer a lighter cake, substitute some of the all-purpose flour with cake flour to achieve a delicate crumb.
For a twist on the traditional flavor, you could add chocolate chips to the chocolate layer or incorporate a few drops of almond extract into the vanilla batter for a hint of nuttiness. Each variation adds an exciting note to this classic recipe.
Storage & Reheating Tips
When it comes to storing your marble cake, it’s best kept in an airtight container at room temperature for up to three days. If you want to store it longer, refrigeration is an option, but be aware that it may dry out slightly. For optimal texture, allow it to come to room temperature before serving after refrigeration. If you have leftover cake, layer cuts of marble cake with parchment paper to prevent sticking.
Reheating your cake is simple. You can microwave individual slices for about 20-30 seconds until warm. Alternatively, if you have a larger piece, you can cover it with foil and warm it in a 300°F (150°C) oven for around 10 minutes. This gentle reheating brings back moisture and revives the delightful flavors of your cake.
FAQs
What is the origin of marble cake?
Marble cake originated in Europe, mainly in Germany during the early 19th century. The design of combining two different batters in one cake allowed bakers to showcase their creativity, leading to widespread popularity.
Can I use cake flour instead of all-purpose flour?
Absolutely! Using cake flour will result in a lighter, more tender crumb, making your marble cake even more delightful.
Can I freeze marble cake?
Yes, marble cake freezes beautifully! Wrap it tightly in plastic wrap and then in aluminum foil to protect it from freezer burn. It can last up to 3 months in the freezer.
How can I make my marble cake more chocolatey?
To enhance the chocolate flavor, you can increase the quantity of cocoa powder or mix in some chocolate chips. You could also use dark chocolate cocoa powder for a richer taste.
Why did my marble cake sink in the middle?
A common cause for sinking in the middle is underbaking or too much liquid in the batter. Ensure that your oven is calibrated correctly and that the toothpick test comes out clean before removing the cake.
Can I add mix-ins like nuts or sprinkles?
Yes! Feel free to add in chopped walnuts or pecans to the chocolate batter. You could also fold in colorful sprinkles to the vanilla batter for a festive look.
What’s the best way to frost my marble cake?
For a smooth finish, ensure the cake is completely cooled. Use a serrated knife to level the tops of the cakes if necessary. Apply a crumb coat before the final layer of frosting to seal in any crumbs.
Conclusion + CTA
In conclusion, marble cake is not just a dessert; it’s an experience filled with warmth, nostalgia, and indulgence. This delightful cake, with its stunning marbled aesthetic and perfect blend of flavors, makes every occasion special. Whether you’re celebrating a big milestone or craving a sweet treat after dinner, marble cake fits the bill. I invite you to try this recipe and create lasting memories with your loved ones. Bake your marble cake today and share your delicious results with family and friends!

Marble Cake
A delightful blend of rich chocolate and buttery vanilla flavors with a stunning marbled effect, perfect for special occasions or everyday treats.
Ingredients
Dry ingredients
- 2 cups all-purpose flour Forms the base of the cake.
- 1 tablespoon baking powder Helps the cake rise.
- ½ teaspoon salt Enhances flavors.
Wet ingredients
- ¾ cup unsalted butter, softened Brings richness and moisture.
- 2 cups granulated sugar Sweetens the cake.
- 3 large eggs Adds richness and binds the ingredients.
- 1 teaspoon vanilla extract Provides flavor.
- 1 cup whole milk Creates a tender crumb.
- ½ cup unsweetened cocoa powder For the chocolate layer.
- 1 cup boiling water Helps dissolve cocoa.
Instructions
Preparation
- Preheat your oven to 350°F (175°C) and grease and flour two 9-inch round cake pans.
- In a medium bowl, whisk together the all-purpose flour, baking powder, and salt.
Mixing
- In a separate large bowl, cream the softened butter and sugar until light and fluffy, about 4 to 5 minutes.
- Add the eggs one at a time, fully incorporating each before adding the next. Mix in the vanilla extract.
- Gradually add the flour mixture and milk to the butter mixture, mixing until just combined.
Battering
- Divide the batter into two bowls. In one bowl, sift in the cocoa powder and mix well.
- Slowly pour in the boiling water, stirring until the chocolate batter is smooth.
Baking
- Spoon dollops of both batters into the prepared cake pans. Swirl them together gently with a knife or skewer.
- Bake for 30 to 35 minutes or until a toothpick comes out clean. Cool in pans for 10 minutes before transferring to wire racks.
Frosting
- In a medium bowl, beat 1 cup softened butter until smooth, gradually adding 3 to 4 cups powdered sugar.
- Mix in ½ cup cocoa powder and 1 teaspoon vanilla extract, adding heavy cream until you reach the desired consistency.
- Once cooled, frost the top of one layer, place the other layer on top, and generously frost the top and sides.
Notes
Use room temperature ingredients for better mixing. Avoid overmixing after adding dry ingredients to keep the cake tender. You can customize the marble effect and add chocolate chips or almond extract for variations.