
Follow Me On Social Media!

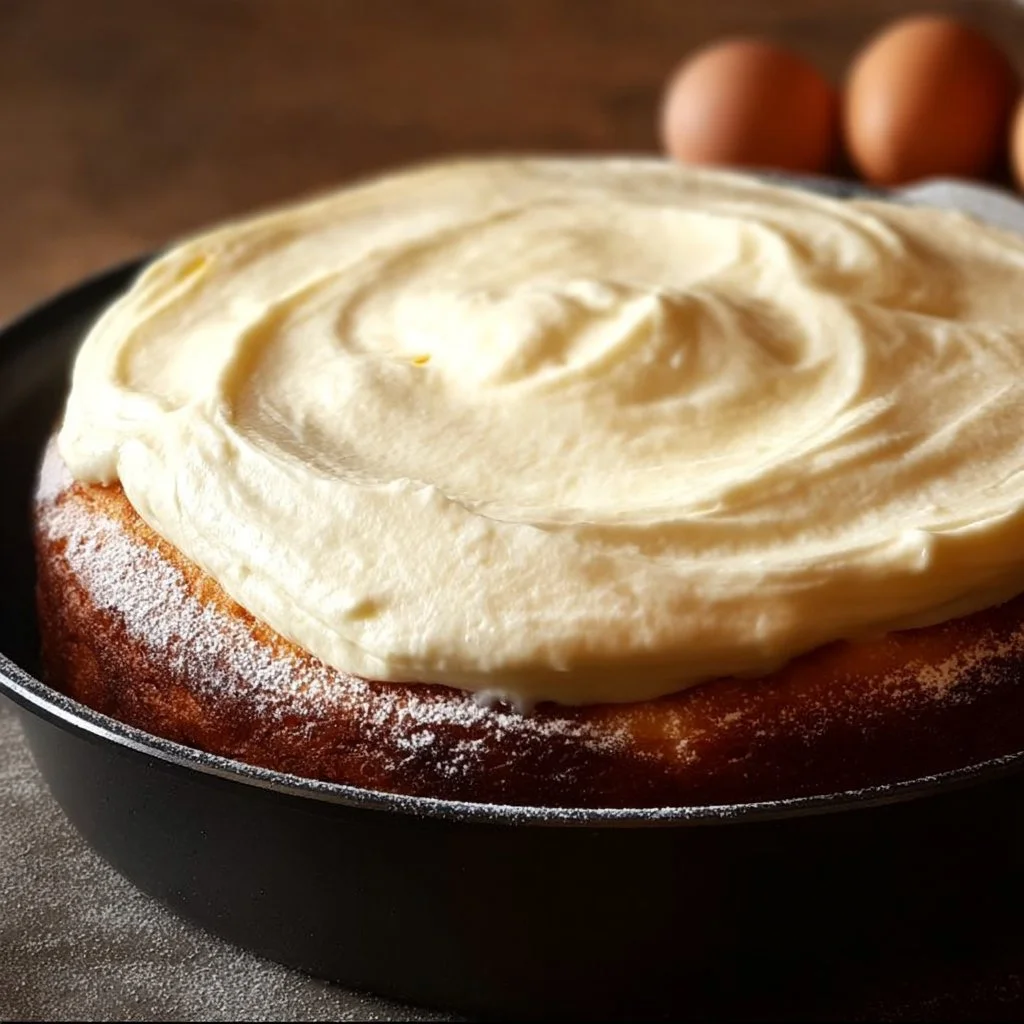
Melt-in-Your-Mouth Cake: A Simple Delight That Costs Next to Nothing
Melt-in-Your-Mouth Cake: A Simple Delight That Costs Next to Nothing
Melt-in-your-mouth cake is a delightful dessert that embodies simplicity and indulgence all in one bite. Everyone loves a good cake, but not every recipe leaves you with that light, airy texture that feels like a hug from the inside. This cake does just that, transporting you back to warm memories of family gatherings and home-baked goodness. Best of all, it’s incredibly easy and inexpensive to make; you don’t need to break the bank to create something truly special.
In this article, we will explore the reasons why you’ll love this cake, dive into the necessary ingredients, and detail each step required to bake this heavenly dessert. So roll up your sleeves, and let’s bring that warm, heartfelt magic to your kitchen!
Why You’ll Love It
This melt-in-your-mouth cake is a game-changer for those who believe that baking must be a complicated affair. With its incredibly soft and fluffy texture, this cake feels like it melts away on your tongue—making it the perfect treat for any occasion. What sets it apart is not just the texture but also the allure of its flavor. Each bite bursts with a delightfully sweet richness, transforming an ordinary day into something extraordinary.
Moreover, this recipe calls for simple, affordable ingredients that most people already have at home. You won’t have to scour specialty stores or spend a fortune to gather what’s needed. This accessibility makes the cake a wonderful option for a spontaneous dessert craving or last-minute gatherings. Whether it’s a holiday celebration or a casual family dinner, this cake brings people together and sparks joy with every slice.
Baking this cake is also an excellent exercise in creativity. You can dress it up or down according to the occasion. For birthdays, use colorful frosting and sprinkles, while for a casual gathering, a light dusting of powdered sugar will do. You can easily modify it with various flavorings or toppings to personalize it. This flexibility gives you the freedom to cater to your guests’ preferences and dietary needs.
When you serve melt-in-your-mouth cake, you are not just offering a dessert; you’re providing a slice of happiness. The joy it brings is twofold—you get to revel in its deliciousness while also sharing that experience with loved ones. That’s the heartwarming essence of baking at home!
Ingredients
To create this scrumptious melt-in-your-mouth cake, you’ll need the following ingredients:
- 2 cups all-purpose flour
- 1 cup granulated sugar
- 1/2 cup unsalted butter, softened
- 1 cup whole milk
- 3 large eggs
- 1 tablespoon baking powder
- 1 teaspoon vanilla extract
- A pinch of salt
Now let’s dive deeper into these ingredients. The star of this recipe is undoubtedly the all-purpose flour, which creates the fluffy body of the cake. Coupled with granulated sugar, it strikes the perfect balance between sweetness and structure. Unsalted butter not only adds richness but also contributes to that melt-in-your-mouth effect we are aiming for. Whole milk helps to keep the cake moist while enhancing the flavor—each drop is a little embrace for your taste buds.
The eggs play a crucial role in binding the ingredients together and providing that necessary lift, resulting in a beautifully risen cake. A tablespoon of baking powder guarantees that light and airy texture, while vanilla extract adds a layer of warmth and familiarity to the taste profile. Lastly, don’t forget the pinch of salt; it wakes up all the flavors, making the cake even more enjoyable.
Now that you know what you need, it’s time to turn your attention to how to create this luscious masterpiece.
How to Make Melt-in-Your-Mouth Cake
Step 1
Begin your melting journey by preheating your oven to 350°F (175°C). This is crucial as you want your cake to bake evenly and rise beautifully. Next, take a 9×13-inch baking pan and grease it with a little butter or non-stick spray. This will help prevent your cake from sticking to the pan once it’s baked.
Step 2
In a mixing bowl, cream together the softened butter and sugar. Use an electric mixer to beat them until the mixture is light and fluffy. This step usually takes about 3-5 minutes. Make sure to scrape down the sides of the bowl periodically to ensure everything is well combined. Once you achieve that perfectly creamy texture, it’s time to add in the eggs, one at a time; ensure each is fully incorporated before adding the next.
Step 3
After incorporating the eggs, it’s time to add the vanilla extract and mix until well blended. In a separate bowl, whisk together the flour, baking powder, and salt, ensuring there are no lumps. Gradually add this dry mixture to the creamy butter and sugar mix. Alternate this with the whole milk, beginning and ending with the flour mixture. This technique helps to ensure a smooth batter without overmixing, which is crucial for maintaining that vibrant fluffiness.
Step 4
Once your batter is perfectly combined and smooth, gently pour it into your prepared baking pan. Spread it evenly to ensure uniform baking. Place the pan in your preheated oven and bake for 25 to 30 minutes, or until a toothpick inserted into the center comes out clean. It might help to rotate the pan halfway through baking to promote even cooking.
Directions Preparing the Dough, Making the Cream Filling, Assembling the Cake
To prepare your dough, follow the mixing process outlined in your steps. Combine the wet and dry ingredients, ensuring not to overwork the batter, as this could result in a denser cake. Once baked, let the cake cool in the pan for about 15 minutes. Then transfer it to a wire rack to cool completely.
For the cream filling, you can whip up a simple vanilla buttercream or go for a basic whipped cream texture. Simply beat together butter, powdered sugar, and a splash of vanilla extract until fluffy. If you prefer a lighter option, consider just heavy whipping cream with a bit of sugar.
Once your cake is cool and your filling is ready, carefully slice the cake horizontally, creating two even layers. Spread a generous amount of cream on the bottom layer, and then place the top layer back on top. Finish decorating with any remaining cream and maybe some colorful sprinkles or a drizzle of chocolate sauce.

Helpful Notes
While baking this melt-in-your-mouth cake, consider these helpful tips to ensure the best results. First, measure your ingredients accurately—using a kitchen scale can greatly enhance consistency. Remember, using room-temperature ingredients, especially eggs and butter, allows for better emulsification and fluffiness of the batter, giving you that desired melt-in-your-mouth texture.
Be cautious not to open the oven door while the cake is baking, as this can lead to uneven rising. If you want to check for doneness, look for golden edges and a springy center. Also, adapt the baking time If you are using a different pan size; smaller pans may require longer baking, while larger ones might need less time.
For a more dynamic flavor, try incorporating citrus zest into the batter or using almond extract instead of vanilla.
Storage & Reheating Tips
To store your melt-in-your-mouth cake, allow it to cool completely before wrapping it tightly in plastic wrap or aluminum foil. You can keep it at room temperature for up to three days. If you plan to store it longer, consider freezing it. Wrap the cake securely in plastic wrap and place it in an airtight container; it will stay fresh for up to three months in the freezer.
When it’s time to enjoy your cake again, let it thaw in the refrigerator overnight. You can also warm individual slices in the microwave for about 10 to 15 seconds for that freshly-baked feel. Just be careful not to overdo it, as that can lead to a dry texture. Enjoying this cake is as easy as pie!
FAQs
What makes the cake melt in your mouth?
The combination of butter and properly whipped eggs gives the cake its lightness, causing it to melt in your mouth.
Can I use a gluten-free flour substitute?
Absolutely! You can use a one-to-one gluten-free blend to achieve similar results; however, the texture may vary slightly.
How do I know when my cake is done?
A toothpick inserted into the center of the cake should come out clean. Alternatively, the cake should spring back when lightly pressed.
What can I use instead of butter?
You can substitute with coconut oil or a plant-based butter alternative if you want a dairy-free option.
Can I make this cake ahead of time?
Yes, the cake can be baked ahead and stored, as mentioned earlier. Just consider frost it closer to the serving time.
How can I enhance the flavor?
Incorporating spices like cinnamon or nutmeg, or using flavored extracts, can add more complexity to the taste.
Can I double this recipe?
Certainly! Just be sure you have ample baking equipment to accommodate the larger batch.
Conclusion + CTA
In conclusion, the experience of creating and sharing a melt-in-your-mouth cake is truly heartwarming and will brighten up any occasion. This simple delight doesn’t cost much to make, yet it offers a rich, comforting taste that lasts in your memory. So gather your ingredients, follow the steps provided, and create an unforgettable moment around the dining table. Don’t hesitate to share your creations with family and friends, because the joy of baking is best enjoyed when shared. Happy baking, and enjoy every delicious slice of your melt-in-your-mouth cake!

Melt-in-Your-Mouth Cake
A delightful dessert characterized by its soft, fluffy texture and rich flavor, perfect for any occasion.
Ingredients
Cake Ingredients
- 2 cups all-purpose flour Creates the fluffy body of the cake.
- 1 cup granulated sugar Adds sweetness and structure.
- 1/2 cup unsalted butter, softened Adds richness and contributes to the melt-in-your-mouth effect.
- 1 cup whole milk Keeps the cake moist.
- 3 large eggs Provides lift and binding.
- 1 tablespoon baking powder Ensures light and airy texture.
- 1 teaspoon vanilla extract Adds warmth to the flavor.
- a pinch salt Enhances flavor.
Cream Filling (optional)
- 1/2 cup unsalted butter For vanilla buttercream filling.
- 2 cups powdered sugar For sweetening the cream filling.
- 1 teaspoon vanilla extract Adds flavor to the filling.
Instructions
Preparation
- Preheat your oven to 350°F (175°C) and grease a 9x13-inch baking pan.
- In a mixing bowl, cream together the softened butter and sugar using an electric mixer for 3-5 minutes until light and fluffy.
- Add in the eggs, one at a time, ensuring each is fully incorporated before adding the next.
- Mix in the vanilla extract.
- In a separate bowl, whisk together the flour, baking powder, and salt, then gradually add to the butter mixture, alternating with the milk.
- Ensure a smooth batter without overmixing, then pour into the prepared baking pan.
Baking
- Bake for 25 to 30 minutes, or until a toothpick inserted comes out clean. Rotate the pan halfway through baking.
Cooling and Filling
- Let the cake cool in the pan for 15 minutes before transferring to a wire rack.
- Whip together butter, powdered sugar, and vanilla for the cream filling, if desired.
- Slice the cake horizontally into two layers, spread filling on the bottom layer, and place the top layer on.
Notes
Accurate measurements are key, and using room-temperature ingredients will enhance the fluffiness. Avoid opening the oven while baking to ensure even rising. You can decorate with sprinkles or chocolate sauce for a festive touch.