Follow Me On Social Media!


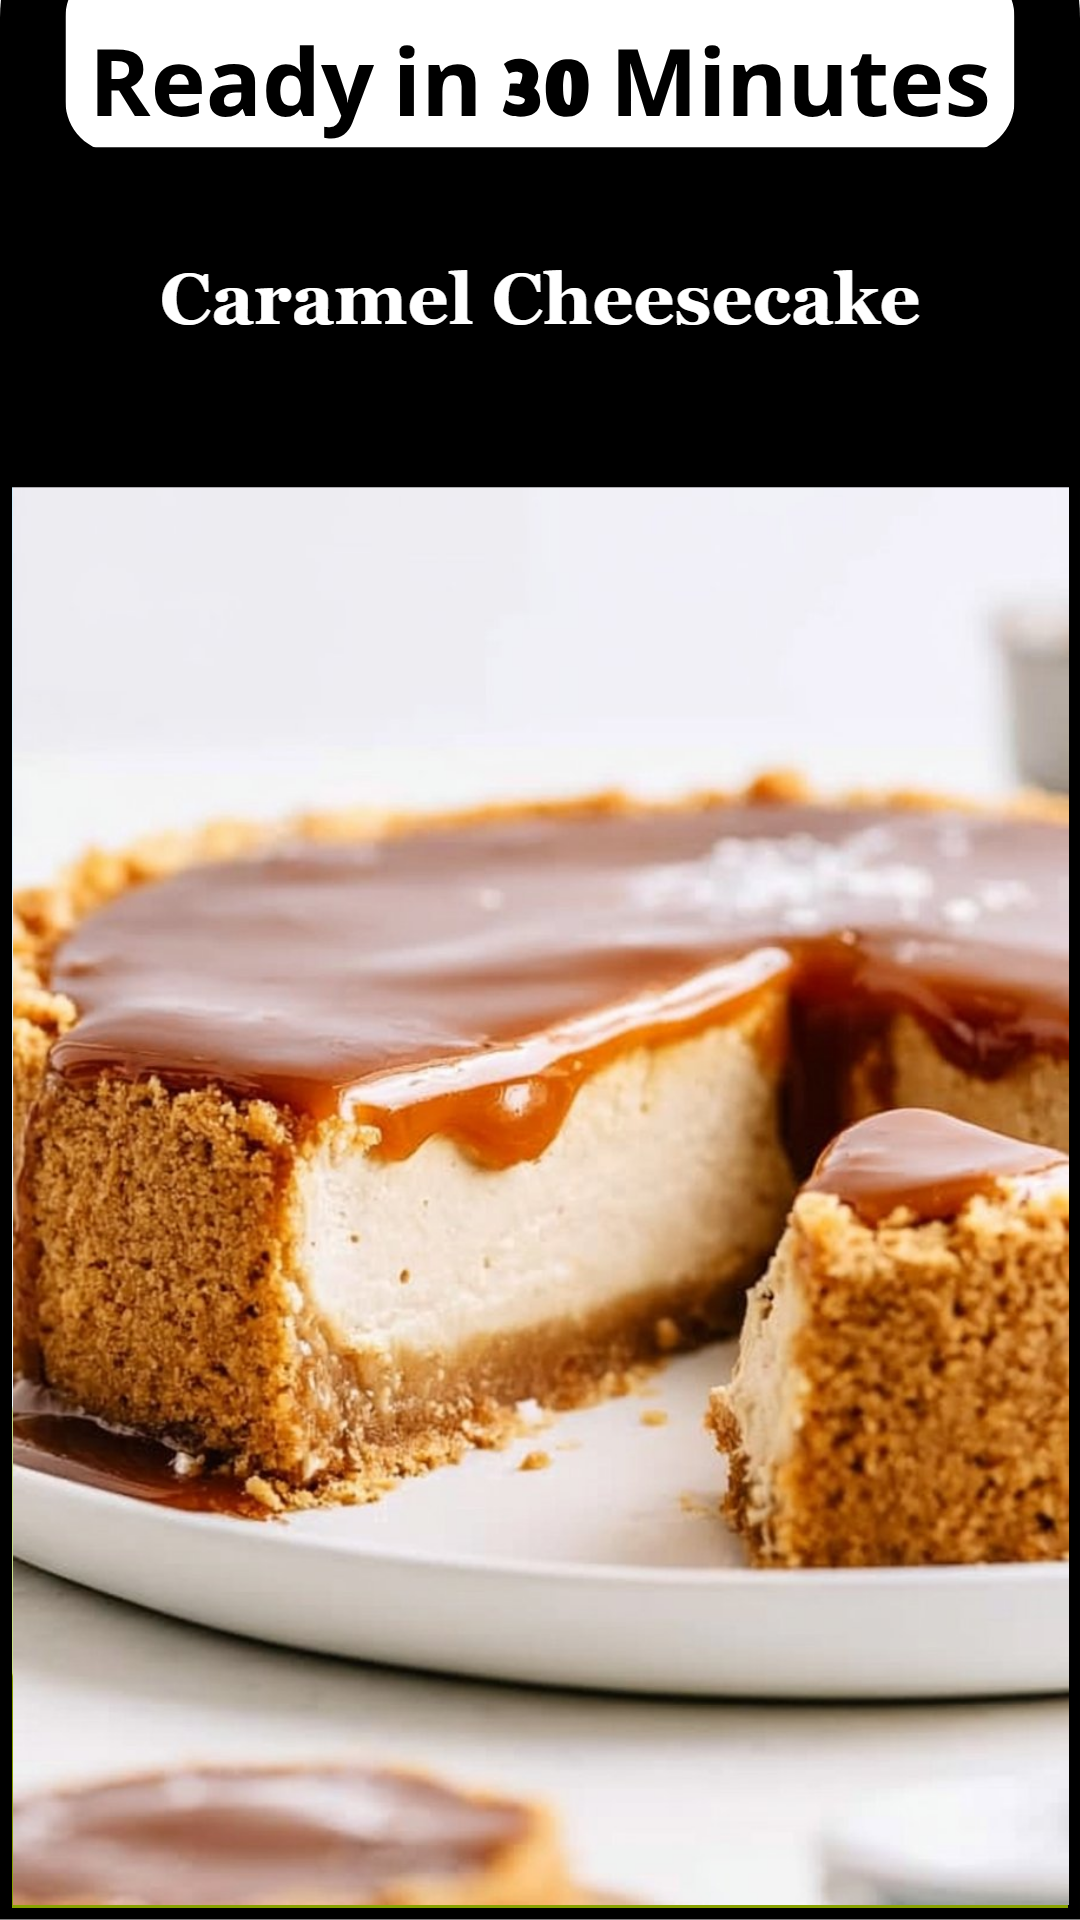
Caramel Cheesecake

Caramel cheesecake is a divine dessert that seamlessly unites the richness of cream cheese with the sweet allure of golden caramel sauce. Imagine sinking your fork into a creamy, velvety bite that balances a subtle tang with a luxurious sweetness. This dessert doesn’t just satisfy your sweet tooth; it creates a lasting memory that makes you want to return for seconds (or thirds!). The balance of textures—from the smooth filling to the crumbly crust—elevates this dish to one that you’ll often crave. Every layer of this cheesecake tells a story of indulgence, and its sophisticated flavor makes it suitable for any occasion, whether a birthday party, holiday gathering, or just a cozy night in.
What Makes This Recipe Stand Out
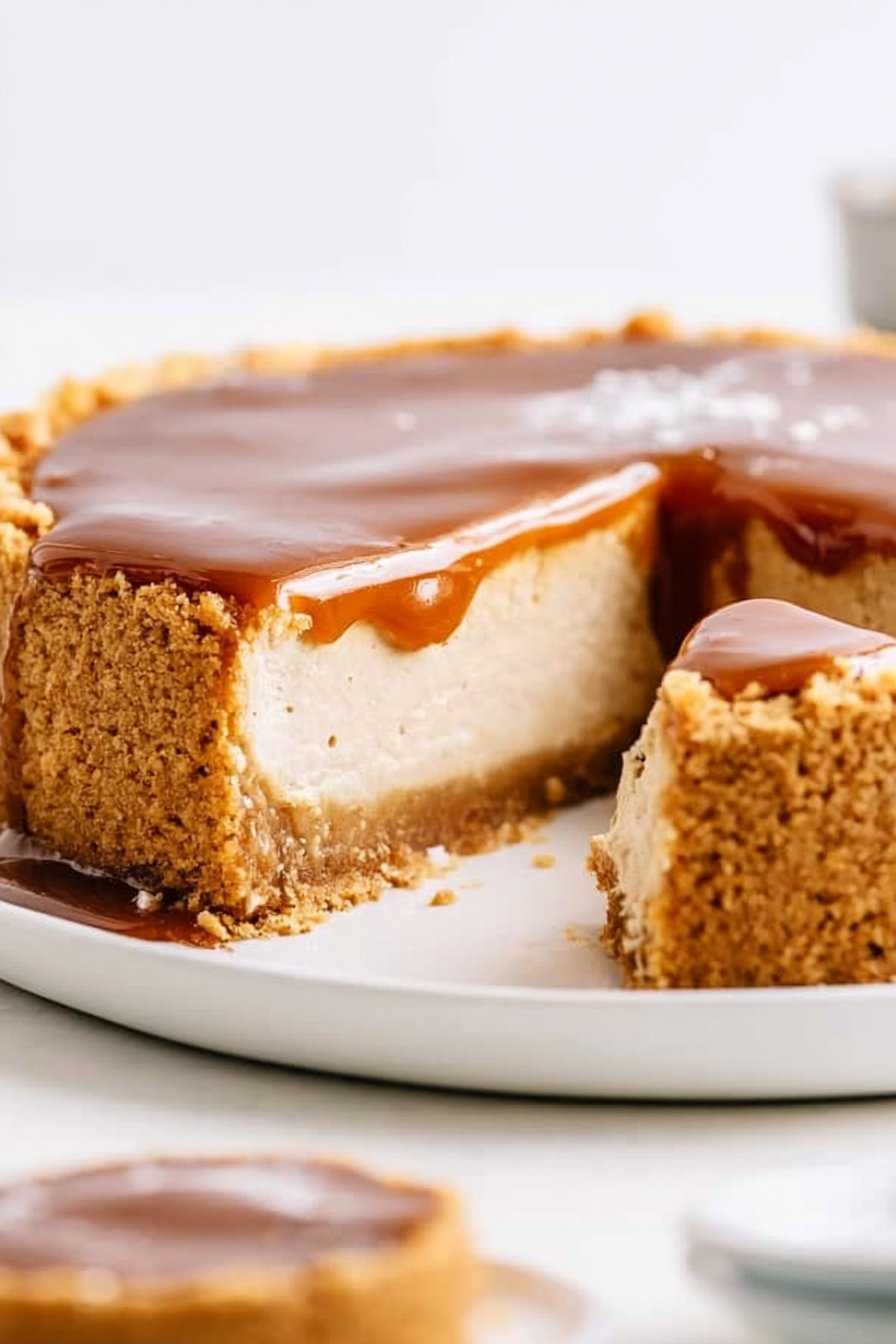
What sets this caramel cheesecake apart from countless others is the perfect harmony between flavors and textures. The crust, made from crushed graham crackers mixed with just the right amount of sugar and melted butter, provides an ideal foundation, both stable and flavorful. The cream cheese filling is lusciously smooth, creating an irresistible bite that melts in your mouth. However, what truly elevates this dish is the homemade salted caramel sauce, which brings a depth of flavor and an exquisite sweetness that cuts through the richness of the cheesecake.
Culinary artistry shines through in this recipe, as it requires patience and attention to detail. Producing a cheesecake that is both creamy yet firm involves careful mixing and baking techniques. Furthermore, this caramel cheesecake allows for customization; you can easily adjust the amount of caramel or even experiment with different toppings. Ultimately, it invites not just indulgence but creativity into your kitchen. Whether you’re preparing it for a special celebration or for a well-deserved treat at home, this recipe promises to leave a lasting impression on your taste buds and your guests alike.
Ingredient Breakdown
- 1 1/2 cups graham cracker crumbs
- 1/3 cup granulated sugar
- 1/2 cup unsalted butter, melted
- 4 (8-ounce) packages cream cheese, softened
- 1 cup granulated sugar
- 4 large eggs
- 1 teaspoon vanilla extract
- 1 cup sour cream
- 1 cup salted caramel sauce
Let’s dive deeper into the ingredients. The graham cracker crumbs serve as the foundation of this cheesecake, providing both structure and a hint of nostalgic flavor that perfectly complements the cream cheese. Sugar, both in the crust and the filling, not only sweetens the dish but also creates a pleasing balance with the rich flavors. Melted unsalted butter adds a necessary element of moisture that binds the crust, ensuring it holds its shape and adds a richer flavor profile.
Next comes the star of the show: cream cheese. Its creamy and slightly tangy nature is essential for the cheesecake filling, providing a luxurious mouthfeel that elevates every bite. The eggs play a crucial role in achieving the desired consistency; they help create a creamy texture while ensuring that the cheesecake sets properly in the oven. As for vanilla extract, it is a key flavor enhancer that rounds out the creaminess of the filling.
Sour cream can often be overlooked in cheesecake recipes, but it is pivotal in adding a slightly tangy zest, which balances the sweetness of the sugar and caramel sauce. Finally, the salted caramel sauce, either homemade or store-bought, serves as the pièce de résistance, draping luxurious, sweet goodness over each slice.
| Ingredient | Purpose |
|————————-|————————————————–|
| Graham cracker crumbs | Base for the crust |
| Granulated sugar | Sweetness and structure |
| Unsalted butter | Moisture and flavor for the crust |
| Cream cheese | Base of the cheesecake filling |
| Eggs | Binder for structure and texture |
| Vanilla extract | Enhances flavor |
| Sour cream | Adds tanginess and creaminess |
| Salted caramel sauce | Sweet topping that adds richness |
Step-by-Step Preparation for Caramel Cheesecake
Step One
Begin your journey with this caramel cheesecake by preheating your oven to 325°F (160°C). Properly preheating ensures that your cheesecake bakes evenly, preventing cracks and achieving a smooth top. Next, take out a 9-inch springform pan, which is ideal for cheesecakes given its removable bottom. Lightly grease the pan to ensure easy removal once the cheesecake has cooled. While the oven is warming, you can prepare your crust—this is where the delicious graham cracker crumbs will shine. Mixing them with sugar and melted butter creates a luscious foundation for your cheesecake.
Step Two
Now, in a large mixing bowl, combine 1 1/2 cups of graham cracker crumbs, 1/3 cup of granulated sugar, and 1/2 cup of melted butter. Use a fork to mix the ingredients thoroughly until they resemble wet sand. Once combined, press this mixture firmly into the bottom of your prepared springform pan. Make sure to pack it tightly for a stable crust that won’t crumble when serving. This step sets the stage for the cheesecake, creating a delightful contrast in texture between the smooth filling and the crunchy base.
Step Three
With the crust prepared, turn your attention to the delicious cream cheese filling. In a large mixing bowl, combine four packages of softened cream cheese and one cup of granulated sugar. Using an electric mixer, beat the cream cheese and sugar until the mixture is smooth and free of lumps. Gradually add in four large eggs, mixing well after each addition. Incorporating the eggs slowly prevents them from overworking the mixture. Finally, stir in one teaspoon of vanilla extract, one cup of sour cream, and one cup of salted caramel sauce until everything is well combined. The filled batter should be creamy and velvety.
Step Four
Carefully pour the cheesecake batter over the prepared graham cracker crust in the springform pan. Using a spatula, smooth the top of the batter for an even baking surface. Bake in the preheated oven for 55 to 65 minutes, or until the center of the cheesecake is set but still slightly jiggly. Overbaking can lead to cracks, so check it closely during the final minutes. Once done, remove the cheesecake from the oven and let it cool to room temperature before refrigerating for at least four hours or, preferably, overnight. This chilling process allows the flavors to meld and further sets the cheesecake.
Full Cooking Directions
To create your caramel cheesecake, you must first preheat the oven to 325°F (160°C). Greasing your 9-inch springform pan is crucial, as it ensures easy removal after baking. Meanwhile, prepare the crust by combining your graham cracker crumbs, 1/3 cup of sugar, and melted butter in a bowl. This mixture should be pressed firmly into the bottom of the pan, providing the foundation for your cheesecake.
Next, focus on the filling. In a separate large mixing bowl, combine the softened cream cheese and 1 cup of sugar, beating them until they achieve a smooth consistency. This step is essential; it’s important to incorporate air into the mixture, lending the dessert lightness. After establishing this base, each egg should be added one at a time, mixed thoroughly after every addition. This gradual process helps maintain a creamy texture in the filling.
Once all the eggs are blended in, mix in the vanilla extract and sour cream. These ingredients introduce complexity and tanginess to the cheesecake. Finally, incorporate your salted caramel sauce until the entire mixture is harmonized. Pour this luscious filling over the graham cracker crust you prepared earlier.
As the cheesecake bakes in the preheated oven for 55 to 65 minutes, keep a close eye on it. You want to remove it when the center is set but still has a slight jiggle. After baking, let it cool completely at room temperature. Once cooled, refrigerate the cheesecake for at least four hours or overnight to enhance its flavors and texture. Just before serving, drizzle additional caramel sauce on top for that final touch of sweetness. Enjoy the rewards of your labor when you slice into this beautiful dessert!
Pro Tips & Extra Guidance
Creating the perfect caramel cheesecake does require attention to detail and patience. Start by using room temperature ingredients; this includes your cream cheese and eggs. Cold ingredients can lead to lumps in the filling, which compromises the cheesecake’s smooth texture.
If you find that your cheesecake cracks while baking, try placing a shallow pan of hot water on the rack below it in the oven. This steam will help humidify the oven, creating a gentler baking environment for the cheesecake. Alternatively, wrap the outside of your springform pan in aluminum foil before baking to prevent water from seeping into the crust if you decide to use a water bath.
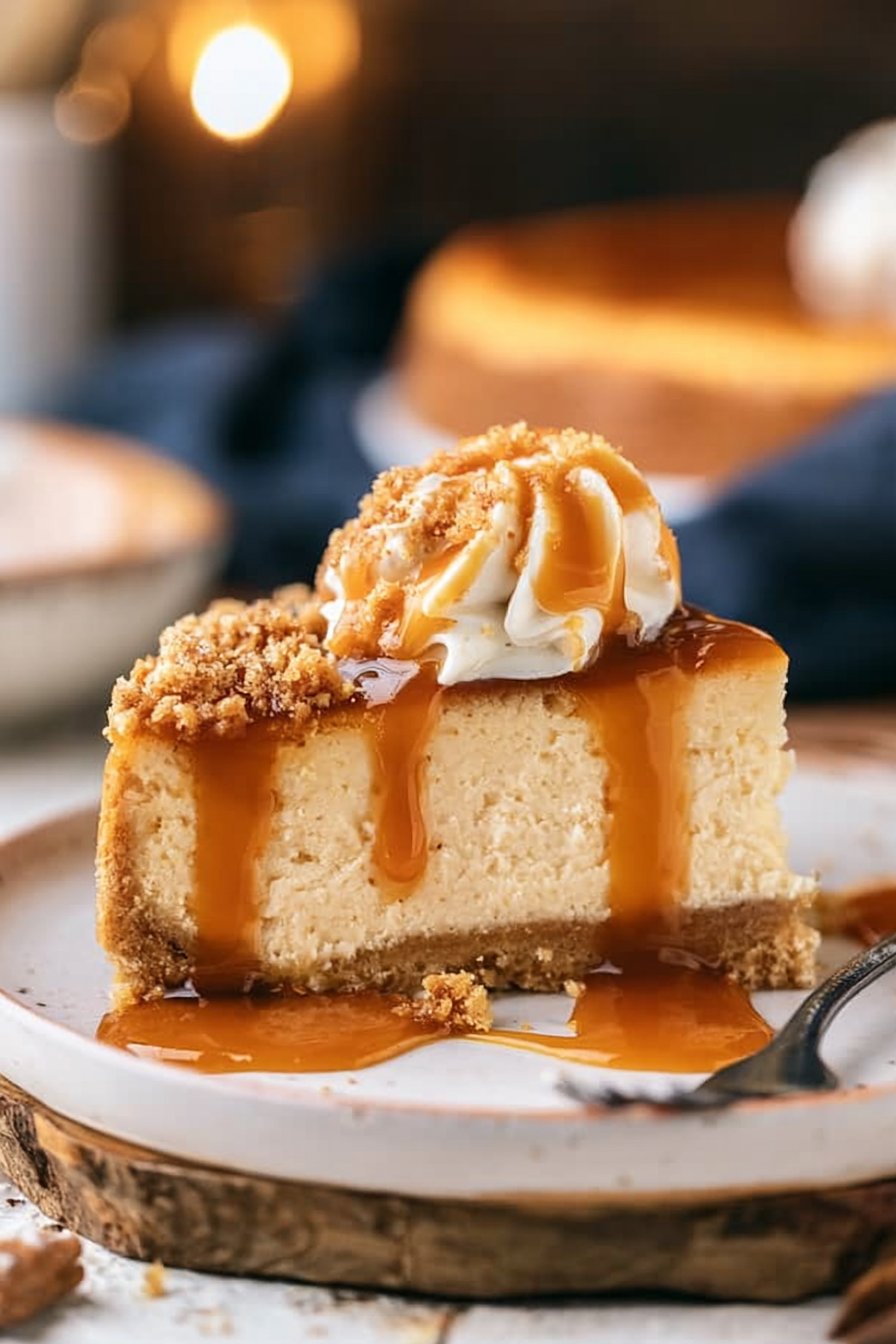
In terms of variations, feel free to play around with different types of caramel or even add a swirl of chocolate to the filling. To enhance flavors further, consider incorporating a pinch of sea salt over the caramel topping just before serving. This slight contrast can elevate the overall flavor profile of your cheesecake.
If you’re looking to make a lighter version, you can substitute light cream cheese and Greek yogurt for the sour cream. While the texture may vary slightly, the overall taste remains divine.
Best Practices for Storing & Reheating
Storing your caramel cheesecake correctly is essential to maintain its texture and flavor. If you have leftovers, cover the cheesecake with plastic wrap or transfer it to an airtight container. It will keep well in the refrigerator for up to five days. For longer storage, consider freezing the cheesecake. Wrap it tightly in plastic wrap and then again in aluminum foil to minimize air exposure. When stored this way, it can last for up to three months in the freezer.
When you want to enjoy a slice of frozen cheesecake, transfer it to the refrigerator and let it thaw slowly overnight. However, if you’re short on time, you can remove a slice from the freezer and let it sit at room temperature for about 30 minutes before serving. Avoid reheating it in the microwave or oven, as this can alter its texture and flavor. Instead, serve it chilled for the best experience.
Common Questions Answered
Can I make caramel cheesecake without a springform pan?
Yes, while a springform pan is preferable for cheesecakes, you can use a regular cake pan. Just ensure you line the pan with parchment paper for easier removal.
Can I use pre-made caramel sauce?
Absolutely! If time is short, feel free to use store-bought caramel sauce. However, nothing compares to the depth of flavor in homemade caramel, should you choose that route.
Is there a gluten-free way to prepare this recipe?
Certainly! Substitute the graham cracker crumbs with ground almonds or gluten-free graham crackers. You’ll achieve a delicious crust that accommodates gluten-free diets.
Can I freeze caramel cheesecake?
Yes, you can freeze it! Properly wrap your cheesecake and store it in the freezer. Thawing it overnight in the refrigerator before serving is advised.
How do I prevent cracks in my cheesecake?
Several techniques can help prevent cracking. Use room temperature ingredients, and avoid overmixing. You may also consider baking it in a water bath for a gentle baking environment.
What should I do if my cheesecake does not set?
If your cheesecake doesn’t set, it may need more time in the oven. Conversely, if you’re adopting a no-bake approach, ensure that you include enough setting gel, like gelatin or cornstarch, as needed.
Can I incorporate different flavors into the cheesecake?
Definitely! Mixing in extracts like almond or citrus can add unique twists, or consider folding in fruits or chocolate for variations on your cheesecake.
Final Thoughts + Call to Action
Caramel cheesecake is not merely a dessert; it’s an experience that brings joy and satisfaction in every bite. If you’ve followed this recipe to its full potential, you’ll likely find that your rendition is a deliciously indulgent masterpiece, one that friends and family will rave about. So why wait? Gather those ingredients and immerse yourself in the art of baking this caramel cheesecake today. Treat yourself with this delightful creation, and remember, the joy of cooking is as rewarding as eating!