
Follow Me On Social Media!


Ultimate Bakery Style Chocolate Chip Cookies

Ultimate Bakery Style Chocolate Chip Cookies
Ultimate Bakery Style Chocolate Chip Cookies always grab attention with their inviting aroma and delightfully rich flavor. These cookies offer a classic taste that brings back fond childhood memories of baking sessions with family. Just imagine pulling a warm batch from the oven, the chocolate chips melting and oozing, capturing the essence of comfort food.
Baking cookies shouldn’t merely be a task; it should be an experience. This recipe transforms ordinary chocolate chip cookies into an absolute game-changer, creating a soft center with a golden-brown edge that’s hard to resist. And while many recipes exist, this one stands out by incorporating specialized techniques that ensure your cookies come out perfect every time—craving them all day long, and yet they remain easy enough for anyone to make.
What Makes This Recipe Stand Out
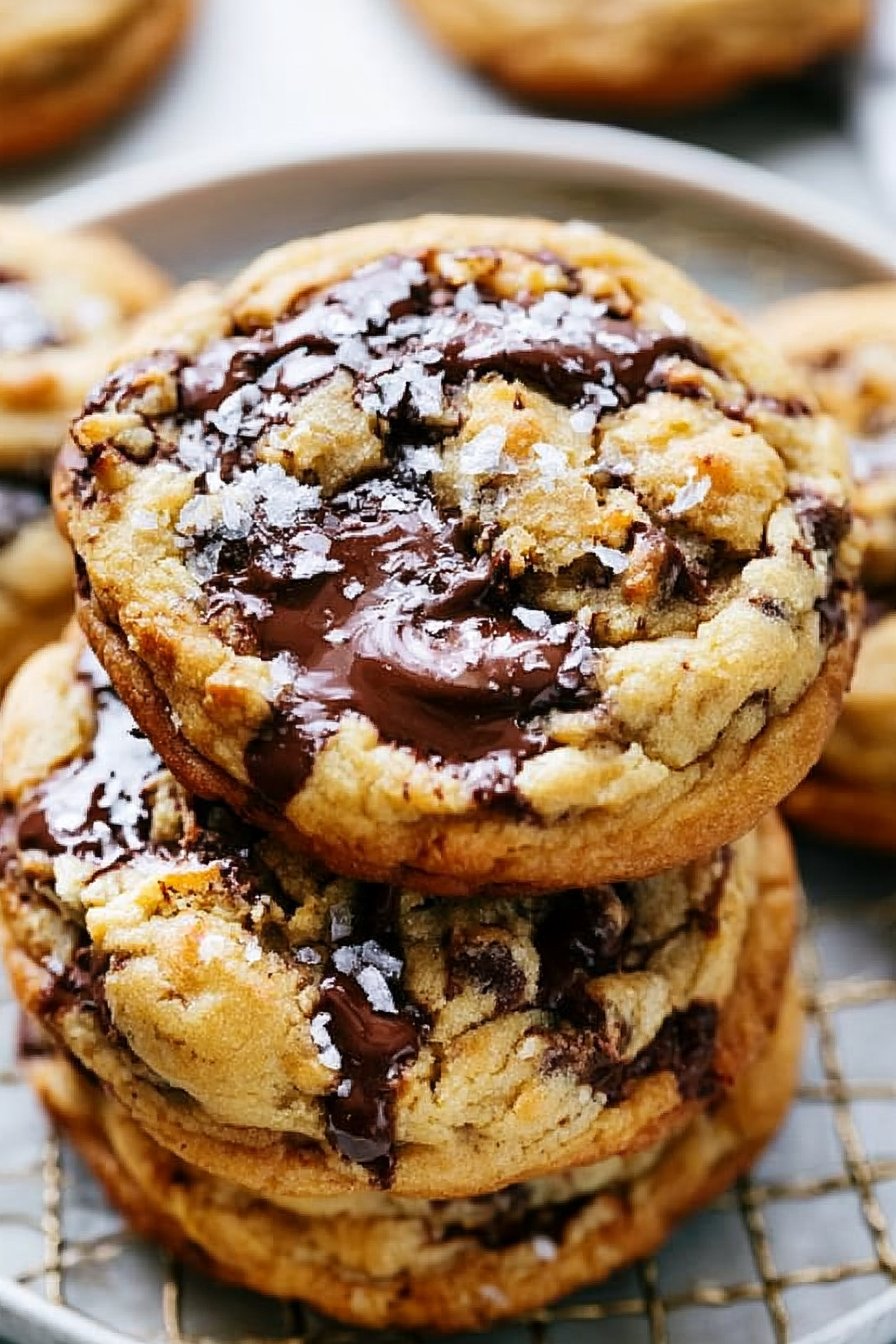
When you think of the ultimate chocolate chip cookie, what comes to mind? It’s that delightful balance of textures and flavors: the crispy exterior that gives way to a chewy interior, the perfect melt of chocolate chips, and hints of vanilla and brown sugar. This particular recipe stands out for several reasons.
First and foremost, we utilize a combination of both granulated and brown sugars, which not only add sweetness but also contribute to that signature cookie chewiness. Brown sugar, in particular, brings moisture and a rich caramel-like flavor to the table. Furthermore, incorporating melted butter creates not only a fantastic taste but an irresistible texture, making these cookies melt in your mouth.
Additionally, we call for chilling the dough before baking. While this step can seem tedious, it’s a crucial part of the process. Chilling enables the flavors to meld together perfectly, resulting in more complex taste profiles. It also helps to prevent spreading in the oven, maintaining a nice thick shape for your cookies.
Ultimately, these chocolate chip cookies can evoke nostalgia while taking your taste buds on an unforgettable adventure. The experience of biting into one of these delights as childhood memories flood back sets this recipe apart.
Ingredient Breakdown
To kickstart your journey in making Ultimate Bakery Style Chocolate Chip Cookies, gather the following ingredients:
- All-purpose flour
- Baking soda
- Unsalted butter
- Brown sugar
- Granulated sugar
- Salt
- Vanilla extract
- Eggs
- Semi-sweet chocolate chips
Now, let’s dive deeper into the purpose of each ingredient. The all-purpose flour serves as the foundation of these cookies, providing structure and chewiness. When combined with baking soda, which acts as a leavening agent, it creates the perfect balance for rising without becoming too cake-like.
Unsalted butter, which lends richness and flavor, is best melted to enhance the cookie dough’s creaminess. The two types of sugar contribute distinct textures and flavors—brown sugar infusing moisture and depth, while granulated sugar aids in achieving that desired crunch at the cookie’s edges.
Salt is often overlooked but plays an essential role in enhancing flavors. Meanwhile, the vanilla extract not only adds warmth but elevates the overall taste experience. Lastly, the star of the show—the chocolate chips—bring sweetness, richness, and a gooey texture that complements the cookies beautifully.
Here’s a brief illustration of how these ingredients work together:
| Ingredient | Purpose |
|————————|————————————————-|
| All-purpose flour | Provides structure |
| Baking soda | Leavening agent |
| Unsalted butter | Adds richness and flavor |
| Brown sugar | Contributes moisture and caramel notes |
| Granulated sugar | Offers crunch in texture |
| Salt | Enhances overall flavor |
| Vanilla extract | Adds warmth and depth |
| Eggs | Binds the ingredients together and adds moisture |
| Semi-sweet chocolate chips | Brings sweetness and melting texture |
Step-by-Step Preparation for Ultimate Bakery Style Chocolate Chip Cookies
Step One
Begin by preheating your oven to 350°F (175°C). Preheating is crucial, as it prepares the baking surface to adopt the right temperature for those beautifully baked cookies. While the oven warms up, you can prepare your baking sheets. If you don’t have parchment paper, make sure to lightly grease the baking sheets to prevent sticking.
Step Two
In a small bowl, whisk together your flour and baking soda, setting this mixture aside for now. This step is important because it ensures that the baking soda is evenly distributed throughout the flour, preventing any unflavored lumps in your cookie dough. Whisking gives your flour a light and fluffy texture, ensuring a smoother mixing process later on.
Step Three
Moving on to the larger bowl, cream together your melted butter, brown sugar, granulated sugar, and a sprinkle of salt until the mixture is smooth and well-combined. Use either a hand mixer or a wooden spatula, mixing vigorously to incorporate air. This action not only blends ingredients but also creates a fluffy texture, essential for the perfect cookie. Next, beat in the vanilla extract, and gradually add in the eggs—one at a time—making sure to mix thoroughly after each addition.
Step Four
Now it’s time for the flour mixture. Gradually blend the flour mixture into the wet ingredients until just combined. This step is crucial; overmixing can lead to dense cookies. Embrace the mixing until all flour pockets disappear but still retain that fluffy, creamy texture. Lastly, gently fold in the semi-sweet chocolate chips. Use a spatula or wooden spoon to give your dough a final, tender mix, ensuring that each scoop of dough captures those heavenly chocolate morsels.
Full Cooking Directions
Now that your dough is perfectly mixed, drop it by large tablespoons onto ungreased baking sheets. Each portion should be spaced about two inches apart to allow for even spreading. This is where it truly begins to take shape—your dough should start to resemble the cookies you’ve dreamed of creating!
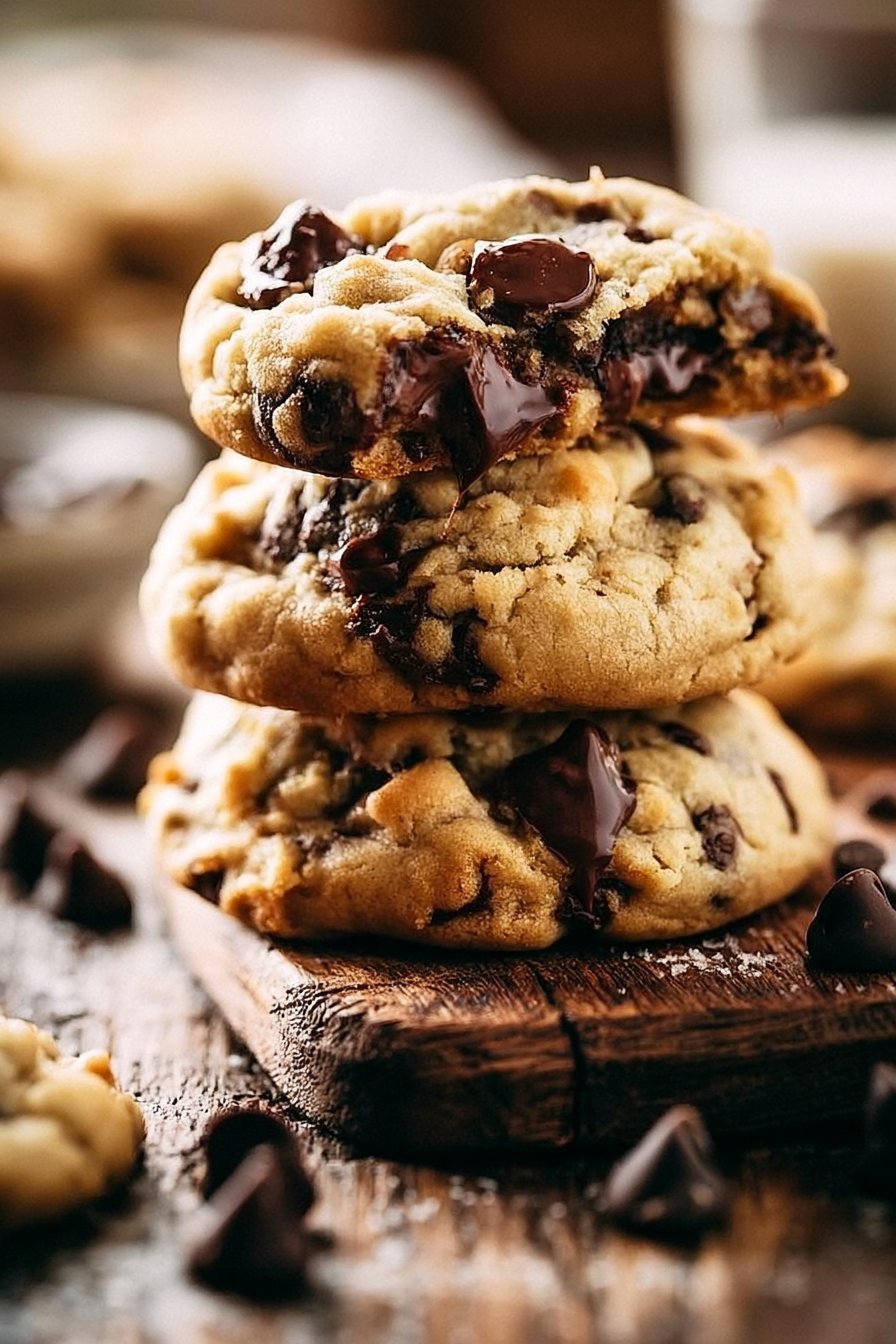
Bake your cookies for 12 to 15 minutes until they turn golden brown. Keep an eye on them, because current baking times may vary slightly based on your oven. You’ll know they’re done when they look puffy and soft yet have a slightly crisp edge. Once they’re out of the oven, let them cool on the baking sheets for a few minutes before transferring them to wire racks to cool completely. This cooling process helps them firm up, so they maintain their shape and texture.
Pro Tips & Extra Guidance
Creating the ultimate chocolate chip cookie involves a few expert tips to elevate your baking game:
-
Choose Quality Ingredients: Always opt for high-quality chocolate chips and real vanilla extract. The flavors will shine through, transforming a good cookie into a great one.
-
Don’t Skip Chilling: Chilling the dough for at least 30 minutes before baking helps improve texture and flavor development. Planning ahead pays off!
-
Experiment with Mix-Ins: Feel free to incorporate nuts, dried fruits, or even white chocolate chips for a twist. Personalizing your cookie recipe makes each batch unique.
-
Watch Baking Times: Every oven behaves differently; keep a close eye on the first batch to determine the optimal baking time for your unit.
-
Resist the Urge to Overmix: Once you add the flour, mix the dough just until combined. Overmixing can result in tough cookies—not what you’re aiming for!
-
Use a Cookie Scoop: A cookie scoop ensures consistent sizing, which helps cookies bake evenly. No more unevenly cooked batches!
-
Let Them Cool: Allow your cookies to cool to set before indulging. Patience pays off in texture and flavor.
Best Practices for Storing & Reheating
To keep your Ultimate Bakery Style Chocolate Chip Cookies fresh, follow these storage tips:
-
Cool Completely: Ensure your cookies are fully cooled before storing; this prevents excess moisture from building up.
-
Airtight Containers: Store cookies in an airtight container at room temperature for up to a week. Adding a slice of bread can help maintain moisture and softness.
-
Freeze for Longevity: If you wish to store them longer, freeze the cookies in a single layer on a baking sheet until solid, then transfer them to a freezer-safe bag or container. They will last for up to three months.
-
Reheating: To bring back that freshly baked taste, pop a cookie in the microwave for about 10-15 seconds. Alternatively, you can place the cookies in a preheated oven at 350°F (175°C) for 5-7 minutes. Enjoy them warm, as if they were fresh out of the oven!
Common Questions Answered
What is the secret to soft chocolate chip cookies?
The key is using a blend of brown sugar and white sugar, not overbaking, and letting the dough chill before baking.
Can I use margarine instead of butter?
While margarine can be substituted, using real butter results in a richer flavor and better texture.
How can I make these cookies gluten-free?
You can substitute all-purpose flour with a gluten-free flour blend, ensuring that other ingredients are gluten-free as well.
What chocolate chips are best for cookies?
Semi-sweet chocolate chips are classic, but feel free to experiment with dark chocolate, milk chocolate, or even white chocolate for variety.
Why are my cookies spreading too much?
This could be caused by warm dough or too much butter. Chilling your dough and correctly measuring ingredients can help.
How thick should the cookie dough be?
The dough should be thick enough to hold its shape after placing it on the baking sheet but not dry or crumbly.
Can I halve the recipe?
Absolutely! Just adjust the measurements accordingly, keeping the baking time in mind as you may have smaller cookies.
Final Thoughts + Call to Action
Ultimate Bakery Style Chocolate Chip Cookies are more than just a treat; they are a nostalgic reminder of home and warmth. By following this simple yet meticulous recipe, you position yourself to create cookies that not only fulfill your sweet cravings but also bring joy to those you share them with.
So, preheat that oven, gather your ingredients, and get ready to create the best chocolate chip cookies of your life. Your kitchen awaits your sweet transformation—it’s time to roll up your sleeves and bake!